Workbench thread

PAUL LANTUCH

Elite Cafe Member
Joined
Jun 2, 2008
Messages
208
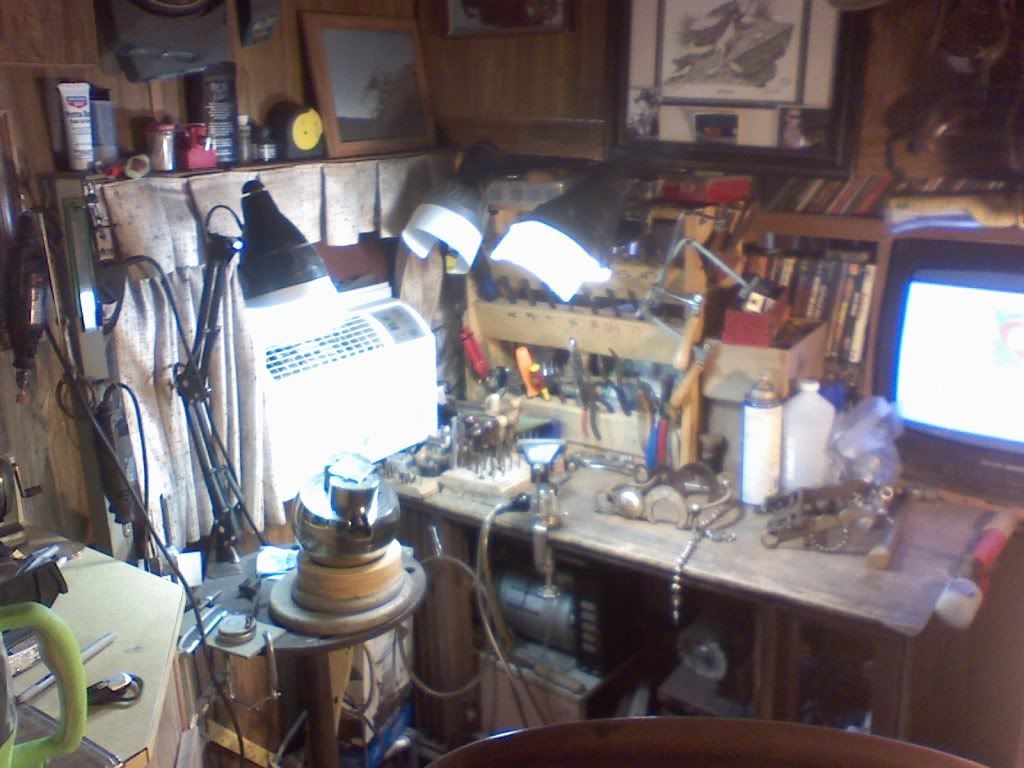
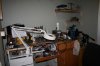
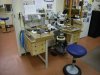
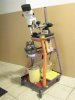
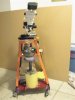
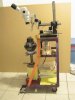
My well organized Chaos.
 

Attachments

  • emIMG_0059.jpg
    emIMG_0059.jpg
    98.6 KB · Views: 1,975
  • emIMG_0408.jpg
    emIMG_0408.jpg
    83 KB · Views: 1,760
  • emIMG_1776.jpg
    emIMG_1776.jpg
    78.7 KB · Views: 1,738

JT Kinney

Elite Cafe Member
Joined
Nov 24, 2006
Messages
132
Location
Wisconsin
This is my work bench. The top is made from floor boards from an old barn. (hay loft). They were ripped to a width of 3", and stacked in edge.Used almost a gallon of glue, and 2 lbs. of screws to hold it all togather. Yep, thats a statue of me in the corner. My wife sure does good work even made me look good....:)

JT
 

Attachments

  • 100_0767-1.jpg
    100_0767-1.jpg
    160.7 KB · Views: 1,756

Frank P

Elite Cafe Member
Joined
Nov 15, 2006
Messages
348
Location
Switzerland
here s my new corner in our new workshop.. still immaculate today...
 

Attachments

  • werkstatt 002.jpg
    werkstatt 002.jpg
    44.9 KB · Views: 1,597
  • werkstatt 003.jpg
    werkstatt 003.jpg
    47 KB · Views: 1,551
  • werkstatt 001.jpg
    werkstatt 001.jpg
    45.8 KB · Views: 1,537

Steve223

Elite Cafe Member
Joined
Apr 20, 2007
Messages
552
Location
SW NewMexico
Heres my little corner where i do my engraveing


Mario Sarto

Elite Cafe Member
Joined
Jul 30, 2008
Messages
611
Location
Bad Salzuflen
I have reorganized my engraving place quite recently - now i have a lot of room to place all the very important and fundamental tools :)
 

Attachments

  • workbench-mario.jpg
    workbench-mario.jpg
    93.8 KB · Views: 1,536
Joined
Aug 26, 2010
Messages
69
Location
Frogner, Norway
This is my humble and not so tidy goldsmith/engravers bench.:p If you look closely you might see my music studio too. :big grin:
 

Attachments

  • IMG_5019.jpg
    IMG_5019.jpg
    50.8 KB · Views: 1,490

Mike Fennell

Elite Cafe Member
Joined
Apr 6, 2007
Messages
660
Location
Matteson, a south suburb of Chicago.
Thanks for bringing this up again, Sam. While I am repairing the tornado damage, I am also designing a new work area, and the photos have given me a many ideas. My present setup is a little too small and cluttered. The new one will be be bigger and even more cluttered.

Mike Fennell
 

griff silver

Elite Cafe Member
Joined
May 11, 2007
Messages
351
Location
Katy, Texas
my setup

I like it but i still need a turn table! the last pic is how my shading is progressing!
 

Attachments

  • mybench1.bmp
    1.2 MB · Views: 1,481
  • mybench2.bmp
    1.2 MB · Views: 1,318
  • mybench3.bmp
    1.2 MB · Views: 1,318
  • cat.bmp
    280.4 KB · Views: 1,296

monk

Moderator
Staff member
::::Pledge Member::::
Joined
Feb 11, 2007
Messages
10,872
Location
washington, pa
portable scope/ ball vise/ light/ de magnatizer & space for some junk storage. made from old bed frames, a piece of well casing, and an industrial lead screw & nut. all this stuff formerly on my bench, now conveniently in one compact and quite stable unit. can be moved quickly to any place needed. i cut this apart 3 different times and re-welded it:rolleyes: to get it "just right". is all steel for stability.
 

Attachments

  • SKOAP KART 004.jpg
    SKOAP KART 004.jpg
    27 KB · Views: 1,408
  • SKOAP KART 005.jpg
    SKOAP KART 005.jpg
    24.3 KB · Views: 1,379
  • SKOAP KART 006.jpg
    SKOAP KART 006.jpg
    26.3 KB · Views: 1,373

Martin Strolz

Elite Cafe Member
Joined
Dec 12, 2006
Messages
339
Location
Steyr, Austria
Here is my studio, a small room with good light from a north facing window. The bench is attached to the walls and very sturdy. I have a very small air compressor only, as I use my Graver Mach only very, very rarely. Now I also have a scope which I only find useful for small lettering or detail work. It quickly can be set up on both places. The far more important thing in the second picture is my sound system with fine electronics and speakers. My wife is using the second seat occasionally for gold smithing and the scope is very handy for stone setting. 95 percent of my work I do with the help of an optivisor only and I like to restrict myself to a quite limited number of tools. The last picture shows the kind of food I eat when I take a short brake.:big grin:
 

Attachments

  • Studio 0.jpg
    Studio 0.jpg
    50.9 KB · Views: 1,442
  • Studio 1.jpg
    Studio 1.jpg
    59.5 KB · Views: 1,470
  • Studio 2.jpg
    Studio 2.jpg
    50.7 KB · Views: 1,455
  • Studio 3.jpg
    Studio 3.jpg
    54.5 KB · Views: 1,449
  • Studio 4.jpg
    Studio 4.jpg
    68.9 KB · Views: 1,433

Mario Sarto

Elite Cafe Member
Joined
Jul 30, 2008
Messages
611
Location
Bad Salzuflen
Hello Martin, always asked myself, how a man can do this wonderful work. Now i see, it needs a spartan workplace and a lot of room for thoughts! ;)

... The last picture shows the kind of food I eat when I take a short brake.:big grin:
This kind of food demands a break - i tried it, impossible to engrave while eating such things, especially under the scope.

Regards, Mario.

PS. Viele Grüße - ich übe fleissig!
 

ETHELBERT

Elite Cafe Member
Joined
Dec 27, 2006
Messages
200
Location
minnesota
really like the idea of a gutter for your gravers so they don't fall off table. I'm going to copy that idea..thanks for posting
 

Scratchmo

:::Pledge Member:::
::::Pledge Member::::
Joined
Aug 7, 2008
Messages
308
Location
NW Arkansas, Ozark Mtns.
Griff inspired bench.

I've had much nicer workbenches in the past, but never one in such a nice location. When I open the windows on a nice day, it feels like I'm sitting on my front porch. I just finished this based off the design Griff did a few posts back. I really like it since I've always had higher benches that required tall stools. This is much better for my legs and back. Thanks for the tips everyone. Very useful thread.
 

Attachments

  • Workbench1.jpg
    Workbench1.jpg
    72.3 KB · Views: 1,352

Ed Westerly

~ Elite 1000 Member ~
Joined
Mar 16, 2011
Messages
1,224
Location
southern California
My shop.jpg Here is the engraving corner of my shop. There is also a lathe corner, a mill corner and a workbench/sink corner. The stand is hand built using two sizes of square tubing, one inside the other, with a t-handle screw tie down that allows me to raise and lower the height by about 20". It has a turntable top, which the ball vise sits on. This is makes it much easier to keep work centered under the microscope.
 

Latest posts

Sponsors

Top