Mokume gane

Daniel Houwer

Elite Cafe Member
Joined
Mar 21, 2007
Messages
239
Location
Holland
Dmitry asked for this.
Hope you will like it too. Nothing to do with engraving though :(

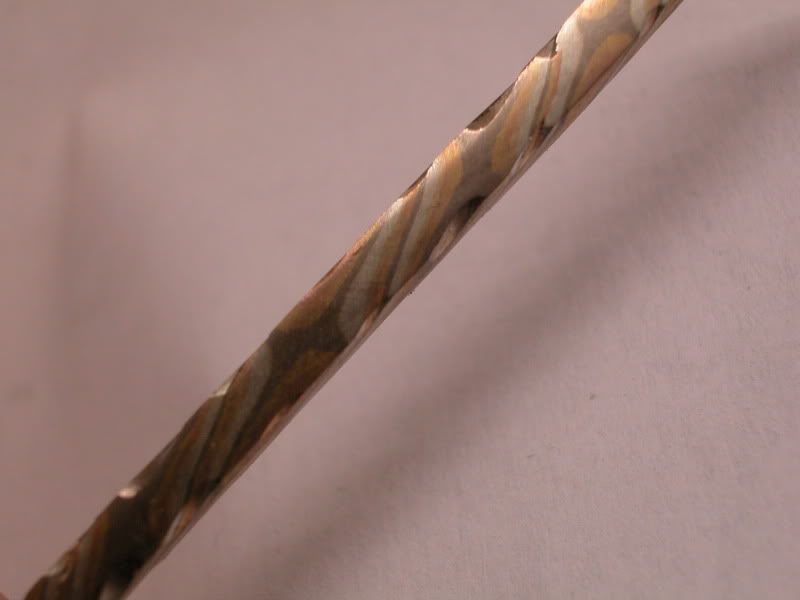
Mokume gane can be made with most metals though mokume gane tends to use the non ferric ones.
I am sure you have seen better and nicer rings somewhere else, but this is just a simple way to make rings like this and if you don't want to make rings you can make a nice material for bolsters or other things to make you product more special.

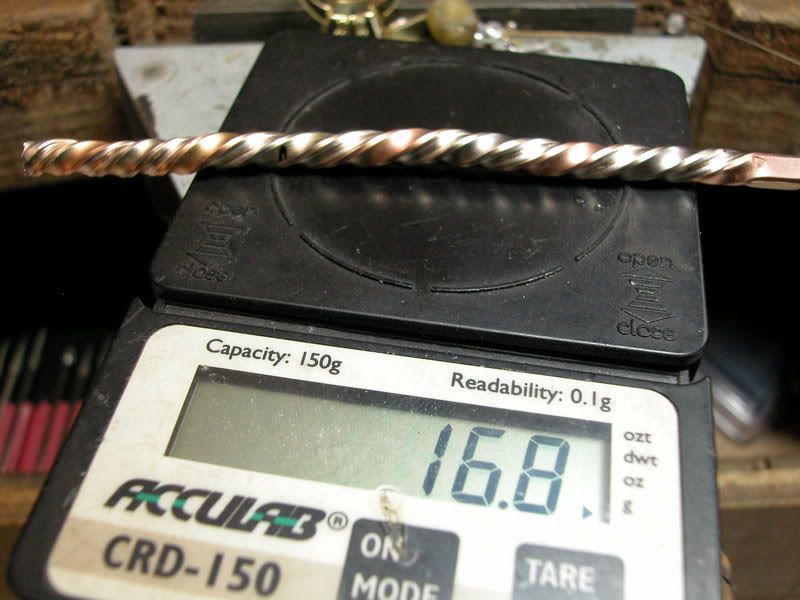
Mokume Gane wedding bands with 3 colours gold and silver.

This is going to be a pretty long story. A lot of work to with a lot of steps.
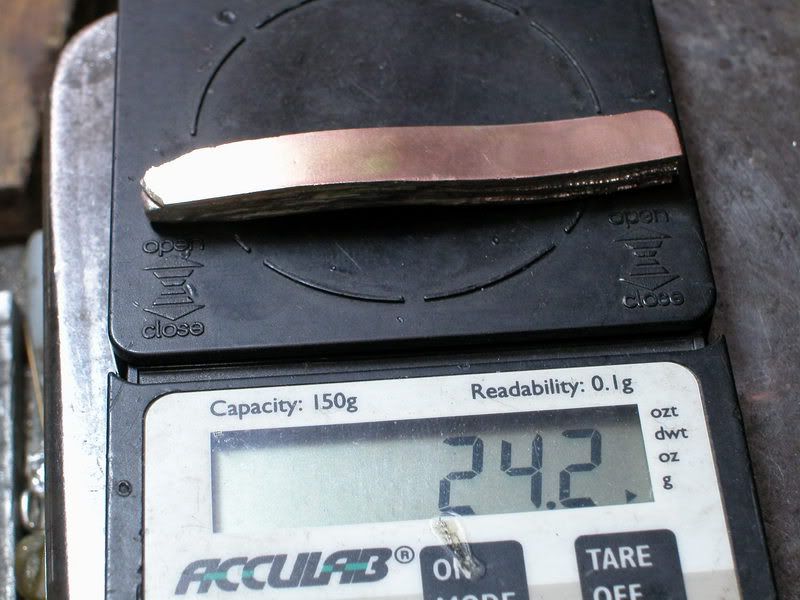
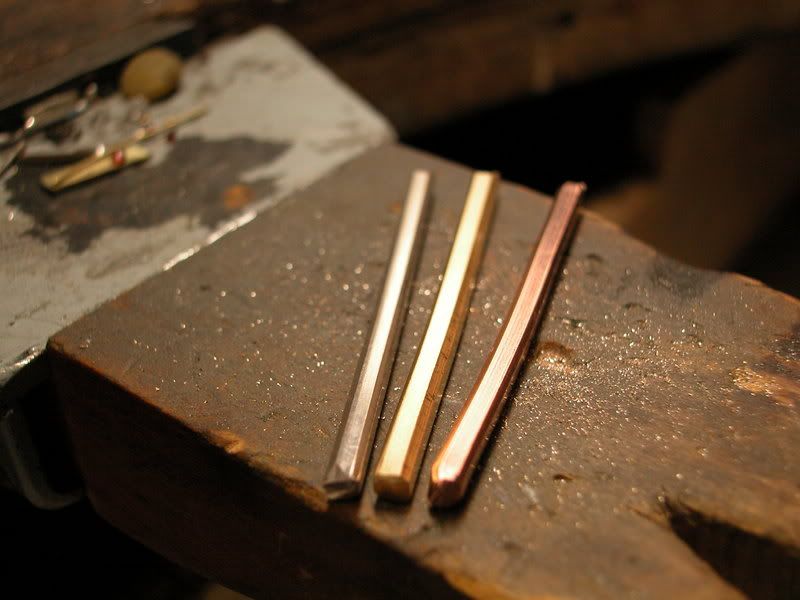
I have to make 2 mokume wedding rings with 18 yellow, 14 red and white gold and silver.
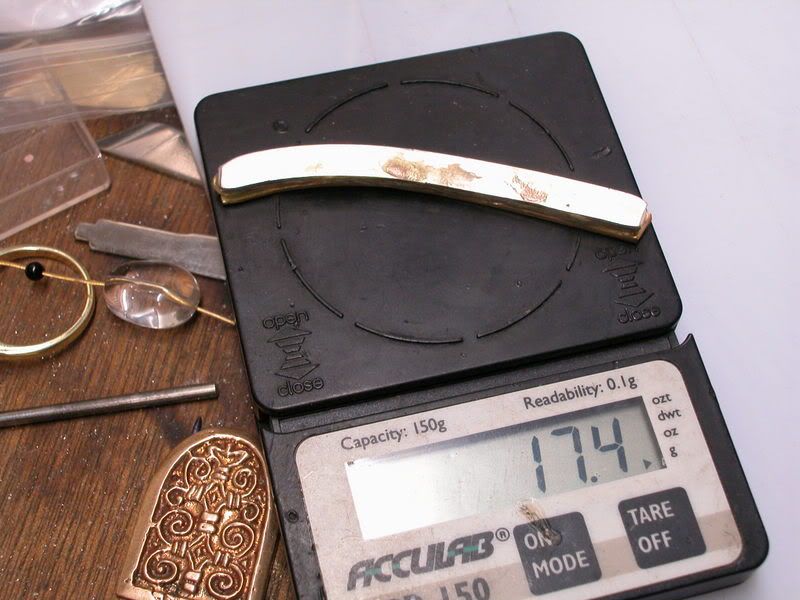
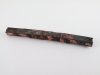
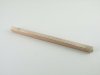
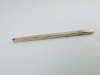
3 Pieces of octagonal 3mm and 50mm long in gold are bought.


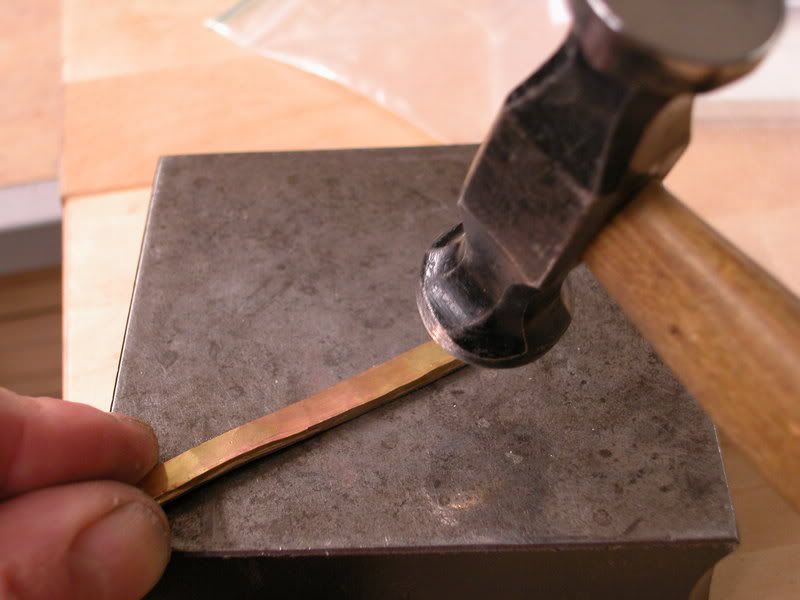
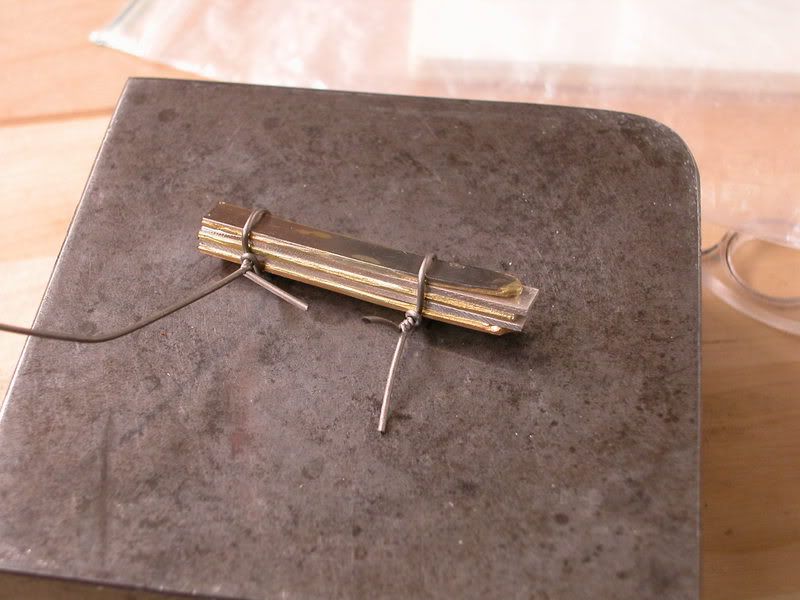
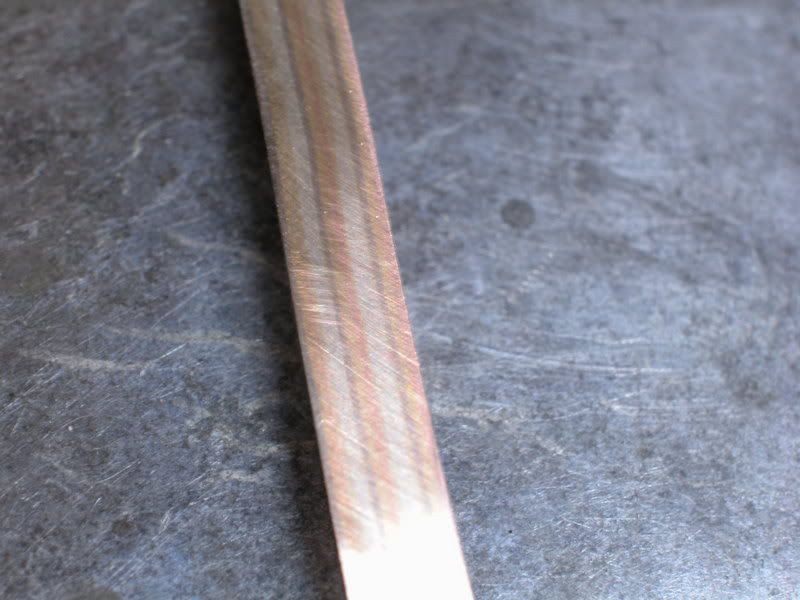
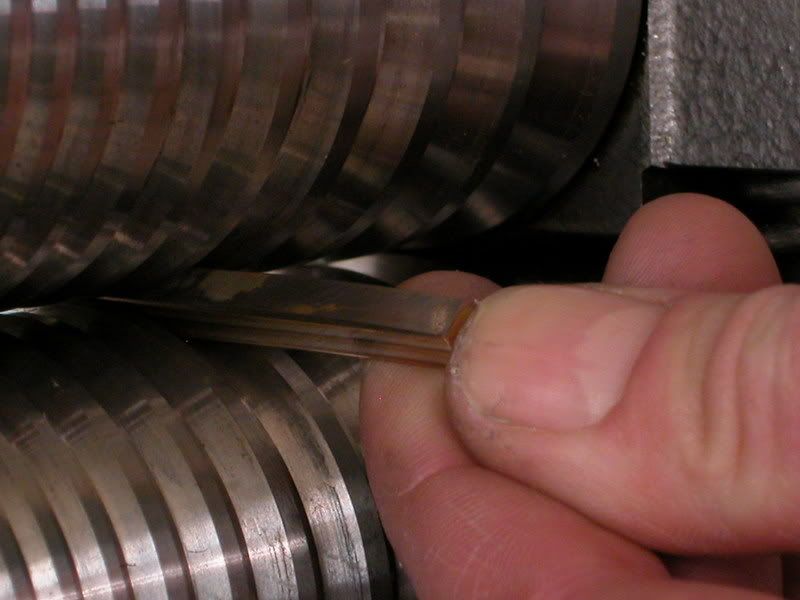
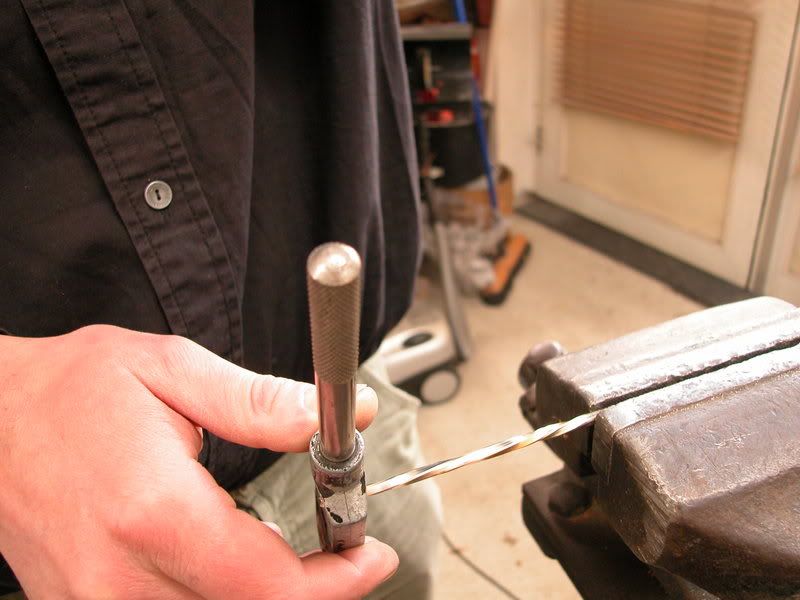
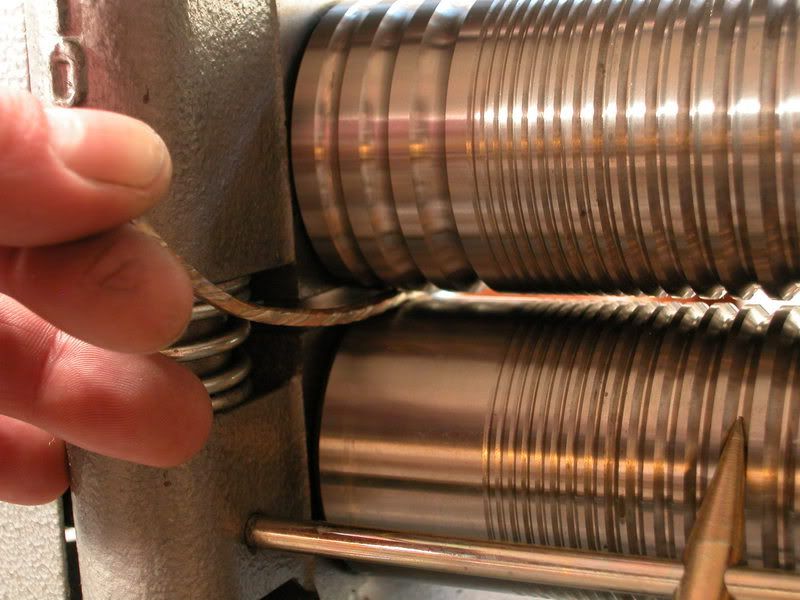
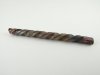
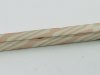
These pieces have been milled flat to 5mm wide and 2 thick. After making them fat and oxide free ( by using waterproof sandpaper under the tap) I have bound them together with titanium wire for the first fusion or weld.

The titanium wire is mostly to bind the package together when the borax settles. A screw clamp could be used as well.

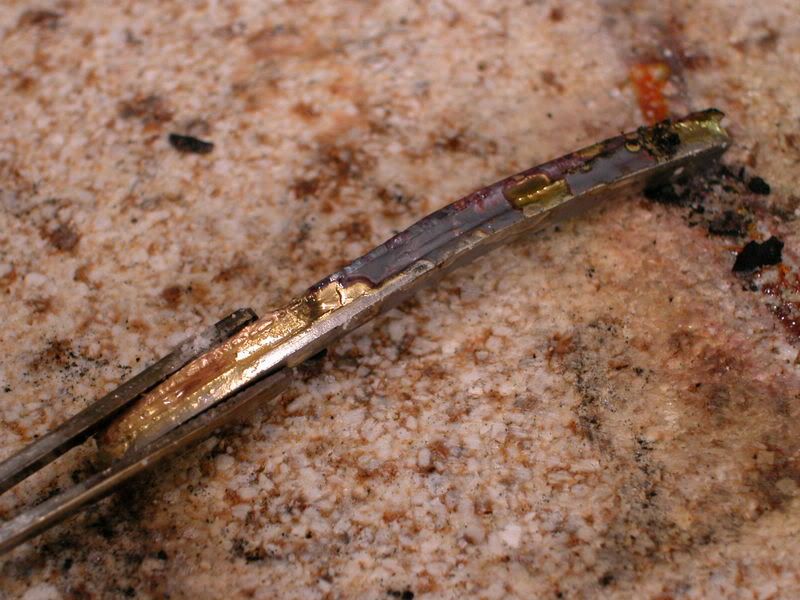
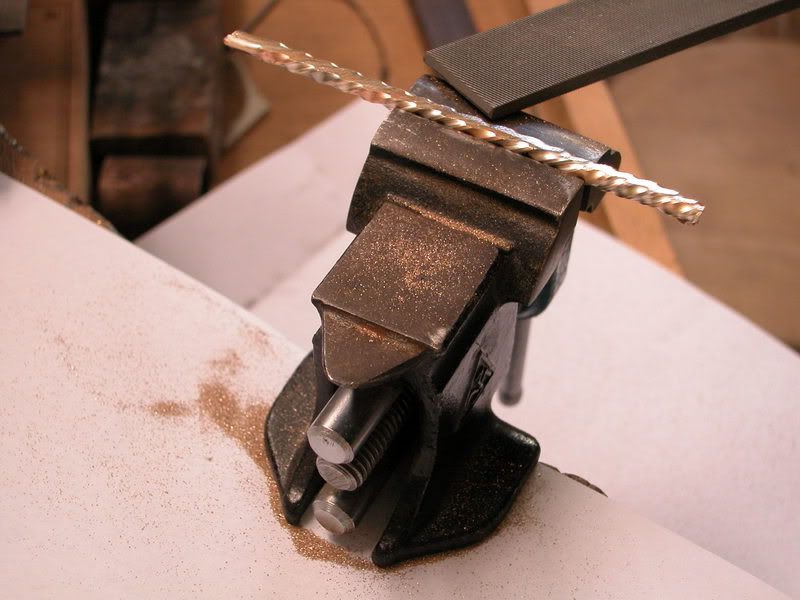
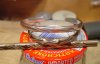
When the package is red hot sometimes squeezing with a pincer helps to get the layers together. When all the layers are together and the package is hot enough you can see a glimmer between the layers just as when solder is running. Take your flame away and wait until the glimmers go dull. Then quench in water.
 
Last edited:

Daniel Houwer

Elite Cafe Member
Joined
Mar 21, 2007
Messages
239
Location
Holland

The package is now pickled and weighed.

After that the package is forged before milling. You can also start milling right away but for a better crystal structure it is better to give it a once over with the hammer.

After the forging and anealing (red hot will do it so dull the lights) pickle and you can start milling. If you reach the wanted lengt and thichkness and ofcourse width you can cut it into 2 or 3 pieces (or more) and add some silver strips in between the layers. I have now three layers so I will add 2 silver layers just as long and just as wide as the other ones.
 

Daniel Houwer

Elite Cafe Member
Joined
Mar 21, 2007
Messages
239
Location
Holland


After fusing again you have a package of 11 layers. Then you flatten the sides where you can see the sides of the layers. This shows you the layers and if you have them the flaws. This is quite important because you have to see each layer separately to get the best result when manipulating a pattern.
 

Daniel Houwer

Elite Cafe Member
Joined
Mar 21, 2007
Messages
239
Location
Holland
Looking at the scale it should be obvious that a lot of material is getting lost in the process.

After a good beating with a hammer (keep it square), anealing and further forging or milling it will be ready to turn.


Put one side into the vice and the other into a (I don’t know what this is called in englisch) thing/gadget. Turn it around for 1 and a half turn. Aneal then and turn further if you want. If you don’t aneal a piece will break off. I thought I could turn further than the metal did. A piece did break off weighing 1.2 grams.
 

Daniel Houwer

Elite Cafe Member
Joined
Mar 21, 2007
Messages
239
Location
Holland

This is the piece that broke off.

The screw thread I just made I file off until a square bar is left. You could only flatten one side or three because the inside wil probably never be seen again. In this case one side of the piece is not filed off.
 
Last edited:

Daniel Houwer

Elite Cafe Member
Joined
Mar 21, 2007
Messages
239
Location
Holland

After squaring and sanding the sides the pattern shows pretty clearly.

The rod can be forged or milled into a halfround shape. My mill will do the trick.


The half round profile is now just above 4mm and about 3mm thick.
 

Daniel Houwer

Elite Cafe Member
Joined
Mar 21, 2007
Messages
239
Location
Holland
Dmitry,

For tonight I think I am through. Is this enough information for you or do you want the last steps for wedding bands as well. As I do not think they will interest you I will save my time and make some pictures of the process whenn I make a copper and silver mokume. Or whenn I find the time to find the picture of formar mokume things.
http://www.zilvermaan.com/forum/viewtopic.php?t=455 if you want to see the rest. Hope the pictures speak for themselves.
Thank you for showing interest on mokume and espessially on my way of doing it. There are a lot of ways to approach this technique. Allso easally available on the internet. Making mokume with gold is much easyer than with non precious metals. Copper and silver are pretty easy whenn you keep you metals fat free. Sand them down under the tap and whenn all the water flushes over the surface of the metal the metal is fat free and ready to be fused to another fatfree metal. Use a lot of borax and keep the borax on the places where it needs to be at the time of fusing. (that meens everywhere!!!) Between copper you could use sterling sliver as a solder and get a very nice package to work with.

Again, there is a lot of info on the web on mokume. This is just my limited way of getting a laminate together.

Greetings,

Daniel
 
Last edited:

Daniel Houwer

Elite Cafe Member
Joined
Mar 21, 2007
Messages
239
Location
Holland
Oh, just one thing,
Silver and copper give a very nice contrast and are pretty easy to fuse together and at a reasonable cost.
I have posted some pictures somewhere of a twisted laminate of silver and copper. Could be on Steve Lindsay's site thoug. Just remember to work clean and with a lot of borax or other flux in the temperature range of fusing.

greetings,

Daniel.
 

Tira

~ Elite 1000 Member ~
Joined
Nov 9, 2006
Messages
1,551
Location
Doylestown, PA
Daniel,

Thanks for taking the time to show us your method for mokume gane. I've moved a copy of it to the tips section. :)
 

Leonardo

Elite Cafe Member
Joined
Jan 9, 2008
Messages
640
Location
Cordoba - Argentina
Hi Daniel,
Thank you very much for taking the time to write this highly interesting tutorial. I like the mokume gane a lot and would like to give it a try. The information that I had to do this billets was using a torque plates pressing the stack and a kiln with charcoal to achieve a reduced atmosphere. Without a doubt a complicate technique taking also in account that you should to know the liquid phase diffusion point for the material being used. You have encouraged me to do my first attempt with your post.
Thank so much and regards, Leonardo.
 

DanM

Elite Cafe Member
Joined
Nov 15, 2006
Messages
203
Location
Minnesota
Daniel,

Have you tried twisting a round bar instead of the square? I have found they break less often than square bars.
 

Daniel Houwer

Elite Cafe Member
Joined
Mar 21, 2007
Messages
239
Location
Holland
Thanks,

Never tried round bar to twist. But I think to get your bar round you would loose a lot of effect wich you don't if you twist octagonal.
The twisting should have been annealed sooner. Whenn forging you have to keep the bar square so you don't have any troubles milling it octagonaly. Easy to go diamond shape on the anvil. Then I twisted it. and this was just the result of impatience and thinking that that last half a twist would go fine. :(

Greetings,

Daniel
 

Leonardo

Elite Cafe Member
Joined
Jan 9, 2008
Messages
640
Location
Cordoba - Argentina
Hi Daniel!
Thank you so much for this tutorial. I am very happy with my first attempt.
I am attaching here some pictures. I have lost almost 2/3 material! But it was really fun anyway.
Thanks again and again!
Leonardo
 

Attachments

  • MG_1.jpg
    MG_1.jpg
    70 KB · Views: 91
  • MG_2.jpg
    MG_2.jpg
    57.7 KB · Views: 77
  • MG_3.jpg
    MG_3.jpg
    59.7 KB · Views: 83
  • MG_4.jpg
    MG_4.jpg
    54.4 KB · Views: 76
  • MG_5.jpg
    MG_5.jpg
    108.5 KB · Views: 108

Daniel Houwer

Elite Cafe Member
Joined
Mar 21, 2007
Messages
239
Location
Holland
Wauw, Way to go Leonardo!:D
That really looks great.
And thank you so much for posting this. I have written quite a few tutorials but really seldom do I get any feedback or word that someone has tried it. And never so soon!!!

To try different manipulations you can look at patternwelding techniques. Some sites show how the patterns are made. And there are more books on damast and patternwelding then on mokume.

Greetings,

Daniel
 

DanM

Elite Cafe Member
Joined
Nov 15, 2006
Messages
203
Location
Minnesota
If you are wanting a star pattern,hammering round to minimize stress seems to work best.After twisting you then hammer back to square and proceed with what ever process needed to complete your project.

I usually make a billet for bracelets and when back to square it is sawn into 4 slices.the pattern runs consistant with the 2 middle slices appearing to atch each other.
 

Attachments

  • mokumebrac.jpg
    mokumebrac.jpg
    78.8 KB · Views: 106

Leonardo

Elite Cafe Member
Joined
Jan 9, 2008
Messages
640
Location
Cordoba - Argentina
Hi Daniel, you have nothing to thanks for. You have made my first mokume possible! I will try to improve the process being more strict following your recommendations to avoid losing so many material and then other manipulations too.

Thanks to you also, Dan. I will try slicing the twisted billet, but this time after hammering it back to square!

Cheers, Leonardo.
 

Daniel Houwer

Elite Cafe Member
Joined
Mar 21, 2007
Messages
239
Location
Holland
Hi Dan,
Seems that you are the expert on mokume.
Whe made mokume in silversmithing class. A big laminate of at least 4.5"square with 9 layers of copper and brass of 1.5mm thick. We had a big clamp screwed onto it and then it had to sit in the furnace for some time. At home I thought the 9 layers was not enough and used sterling silver to double the packadge over and over again untill the line's where only distinguishable with a good loupe:mad: For small packadges I used the open flame. But mostly used the laminates for knives or tools. Only started using gold in the laminates to make my wife's wedding ring and she made mine:D

I will certainly try rounding it up next time! But sawing the billet in four slices seems very hard to do. Could you explain how you do that and how big your billet is before sawing?

Leonardo,
If you want to keep more material on your billet you can leave the bottem and the sides for what they are.
Just file of the top and you will get a nice star pattern. Oppi Untracht allso mentions mokume very nicely in Concepts and Technology. He allso shows a few manipulation techniques.

Good luck with it!

Daniel
 

DanM

Elite Cafe Member
Joined
Nov 15, 2006
Messages
203
Location
Minnesota
The bracelet billets are 6mm X 6mm X 100mm after going through the rolling mill. Silver/copper billets are hand sawn with a 2/0 blade and are marked for sawing with a steel divider. Gold billets are cut with a wire EDM since they are very precise and much less gold is loss from the slices.
 

Latest posts

Sponsors

Top