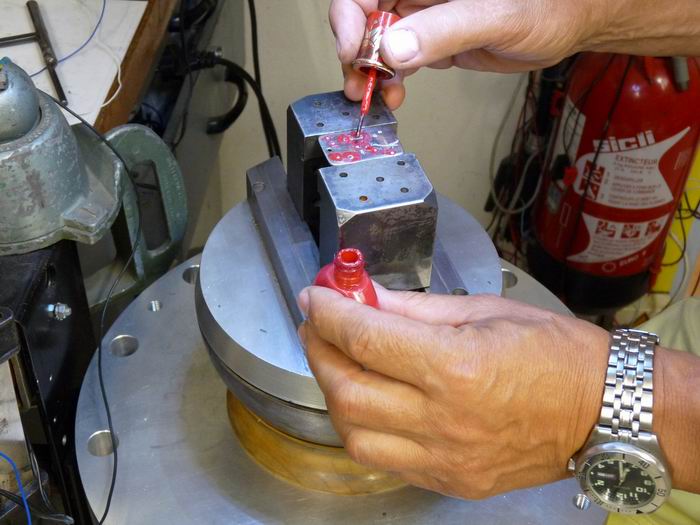
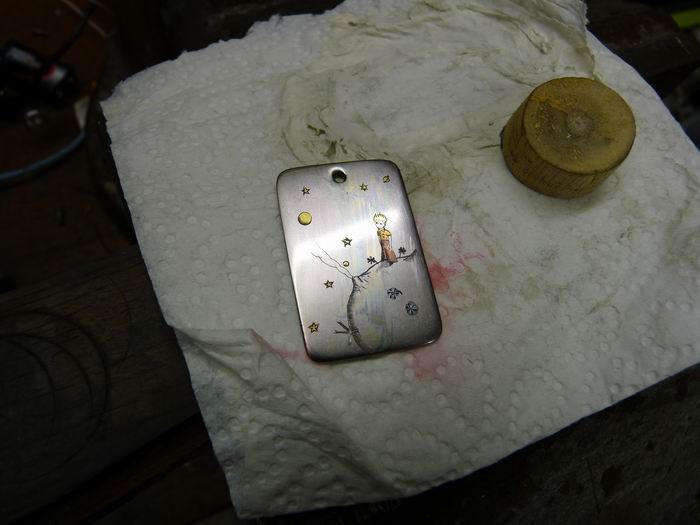
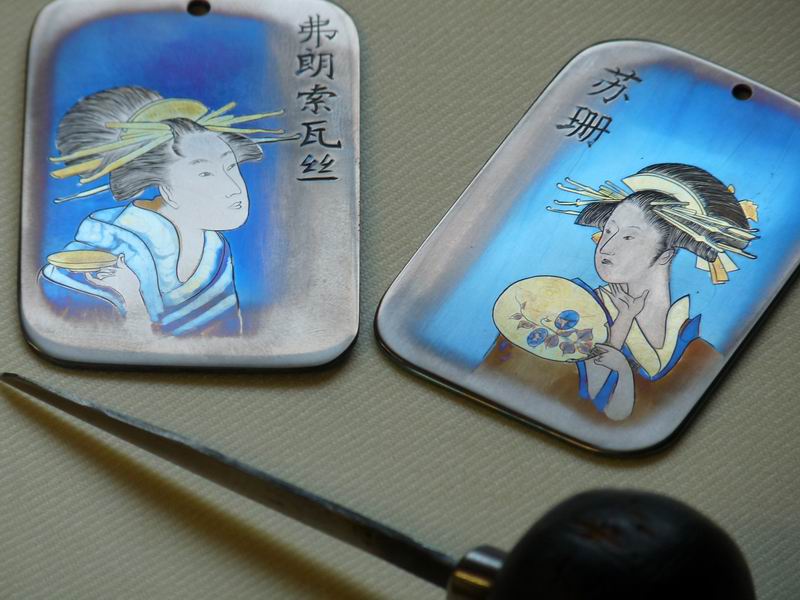
I’ve just finish two little pendants for my dentist and her assistant . They provide me lots of diamond and carbide burs and I want to give them a little present.
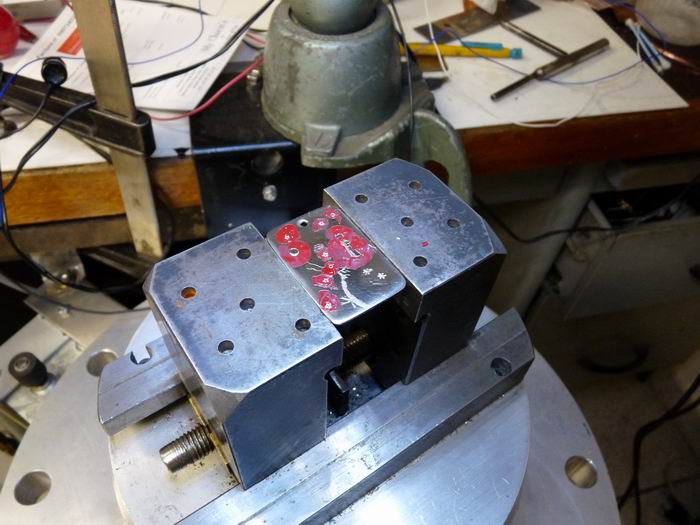
Under the scope :
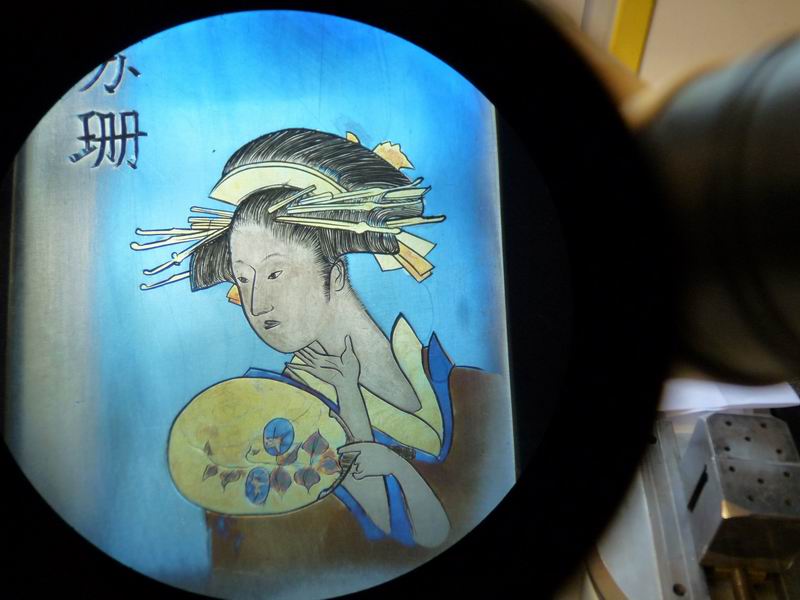
I’ve been inspired by Utamaro’s wooden prints ( Ukiyo-e) I found them in the Boston MFA a great source for models . You can zoom and get an incredible definition of every print . Boston MFA
Thanks for viewing
Jean
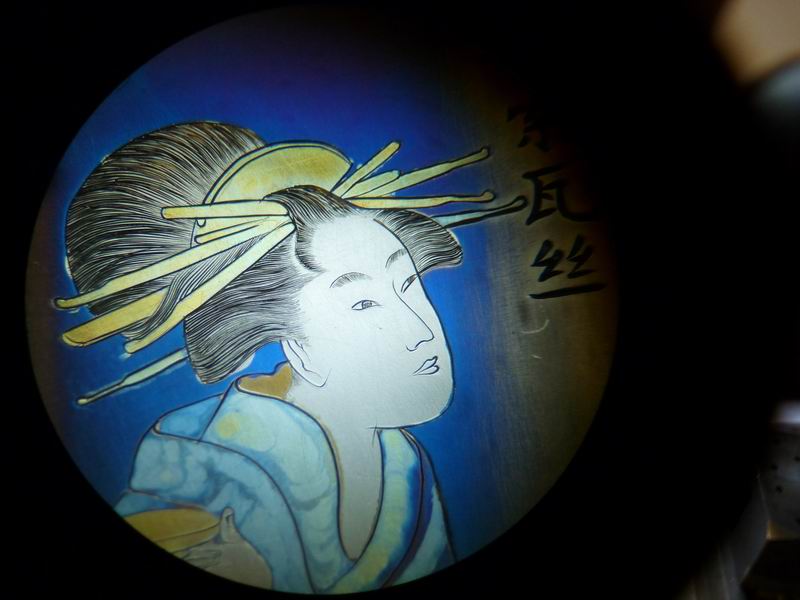
Under the scope :
I’ve been inspired by Utamaro’s wooden prints ( Ukiyo-e) I found them in the Boston MFA a great source for models . You can zoom and get an incredible definition of every print . Boston MFA
Thanks for viewing
Jean

")