Choppers_rule
Elite Cafe Member
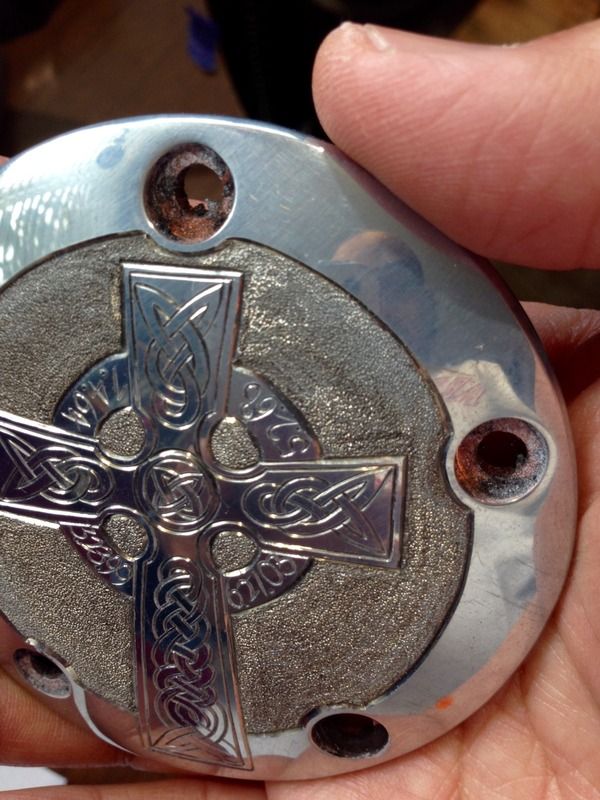
Hi,
I have a problem with uneven shininess when stippling a large area. What do I need to do, so the stippled area has a uniform shininess to it?:thinking:
Thank you.
Denny
I have a problem with uneven shininess when stippling a large area. What do I need to do, so the stippled area has a uniform shininess to it?:thinking:
Thank you.
Denny