Barry Lee Hands
~ Elite 1000 Member ~
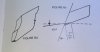
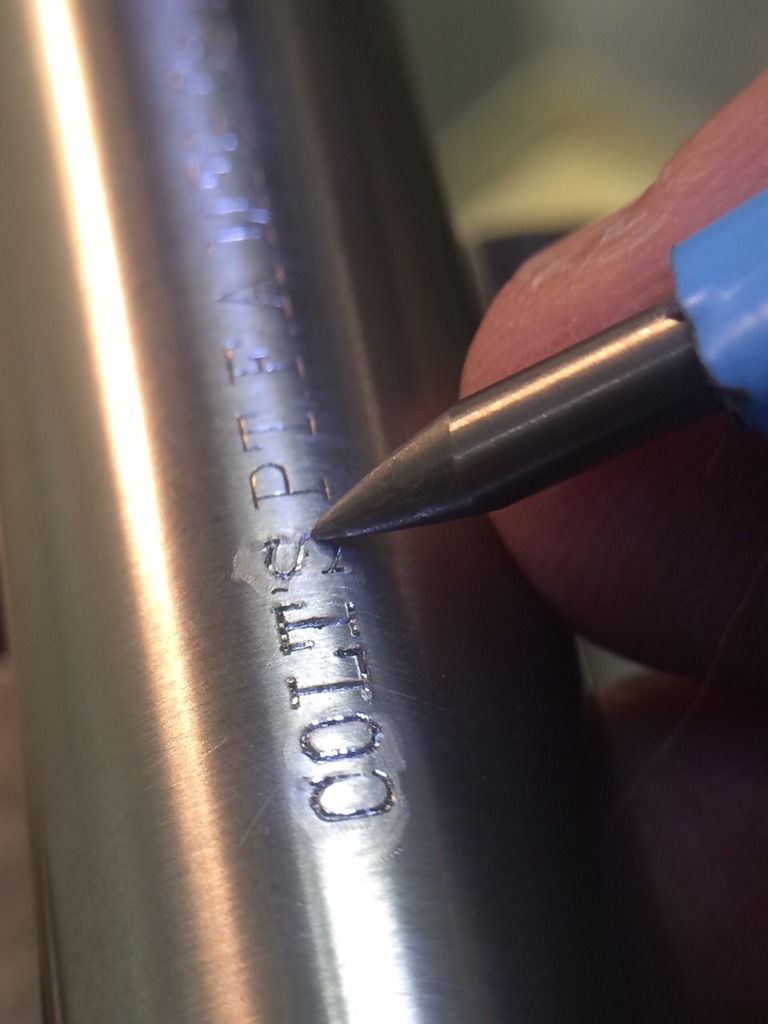
My flat chisel, about .008 inches wide:

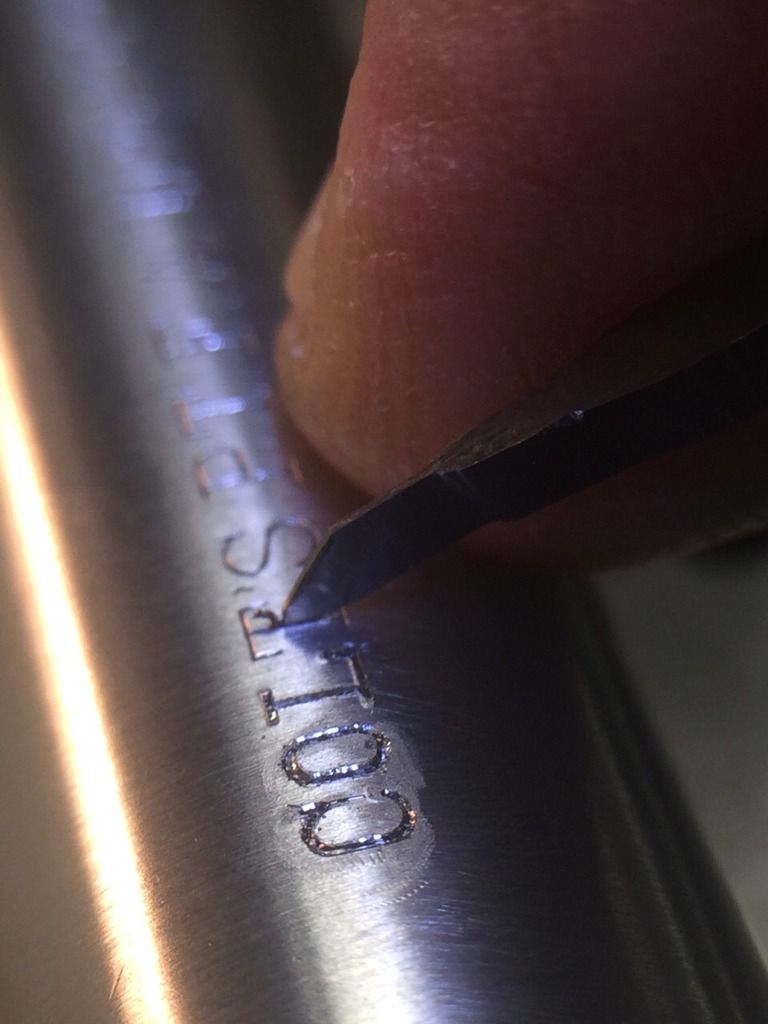
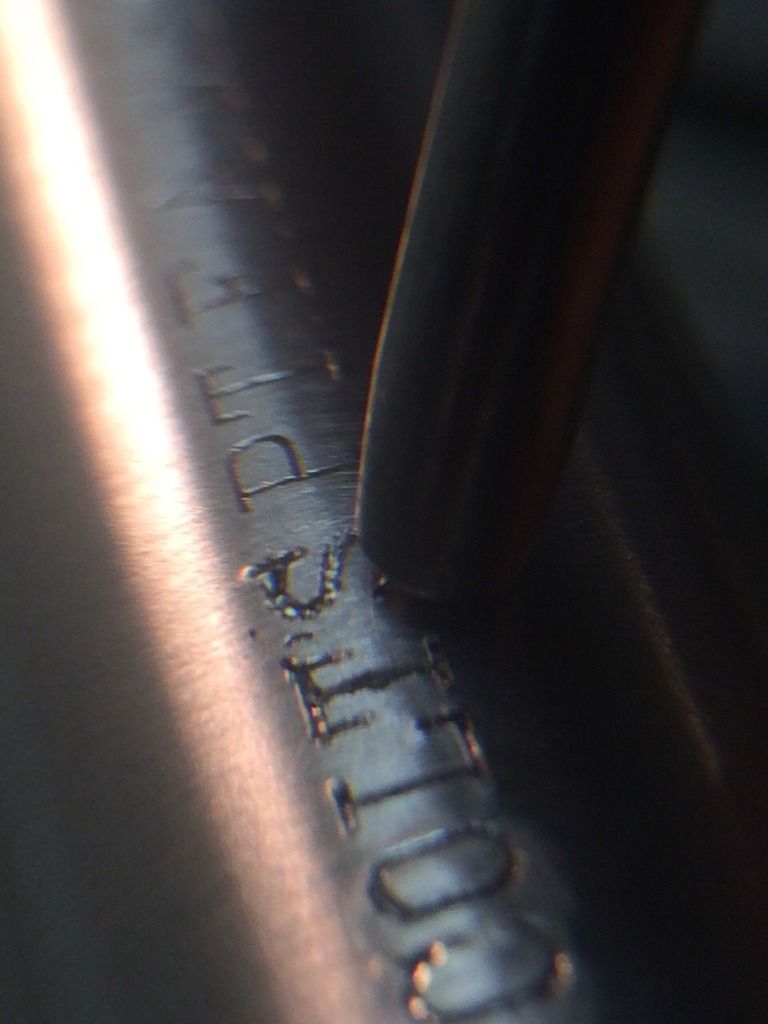
Cutting with the flat:
Curvy parts are trickiest, because outside edge gets ragged because of heel drag:
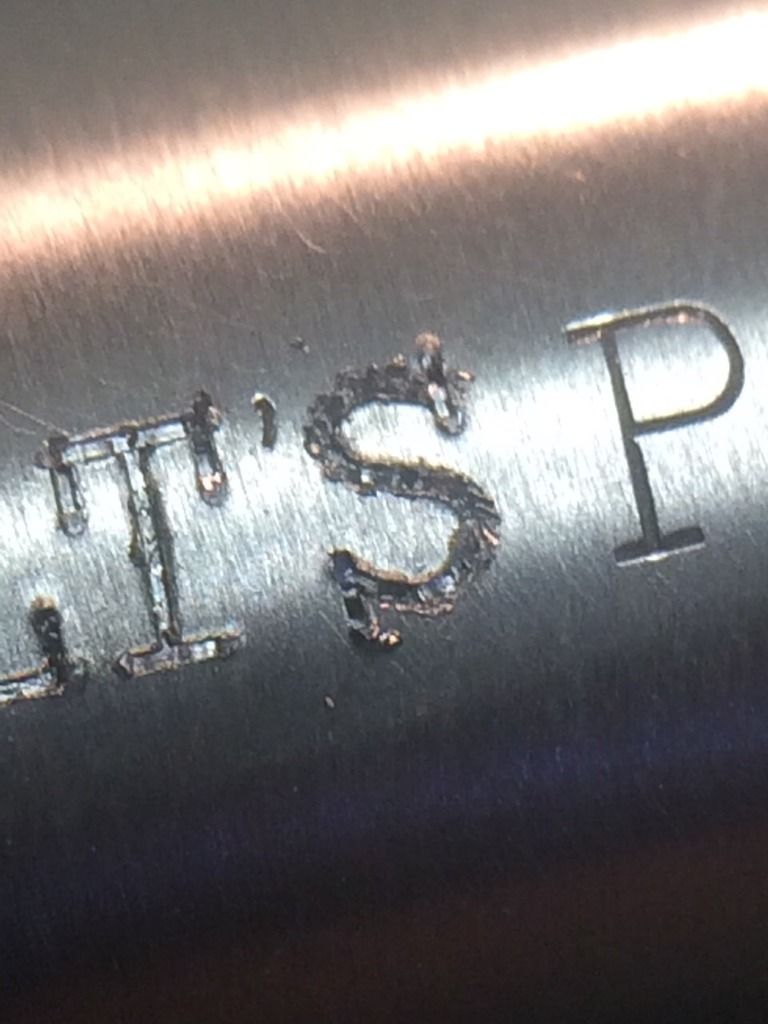
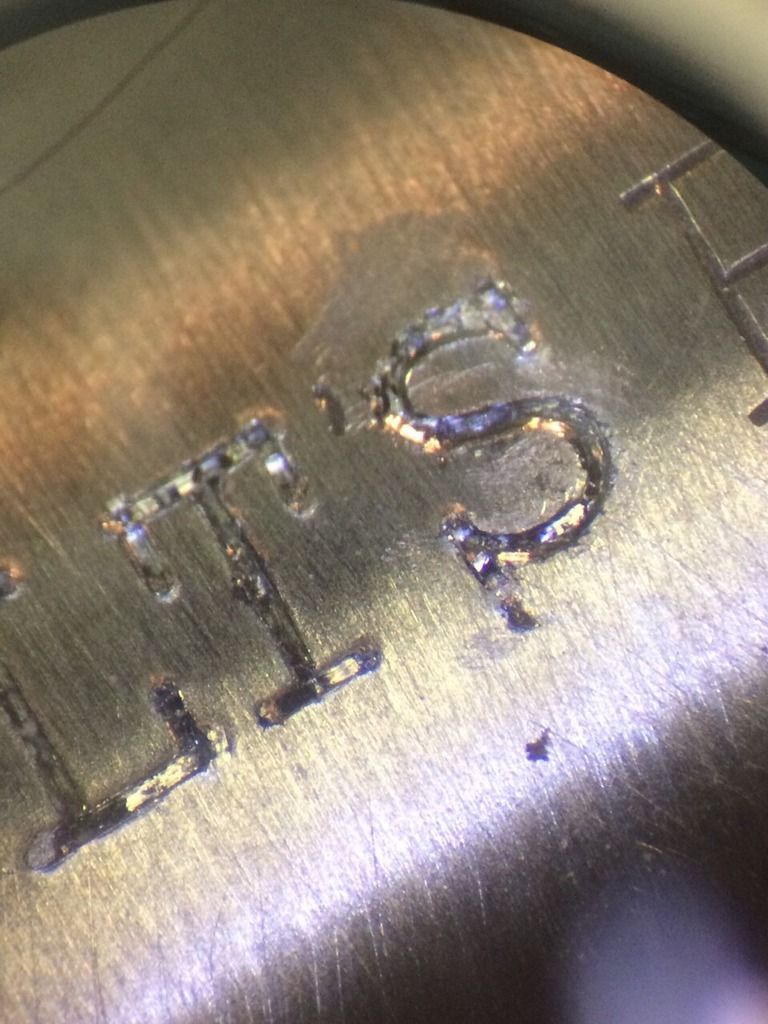
So, we punch it down with a flat:
Then I smooth it up with a scribe:
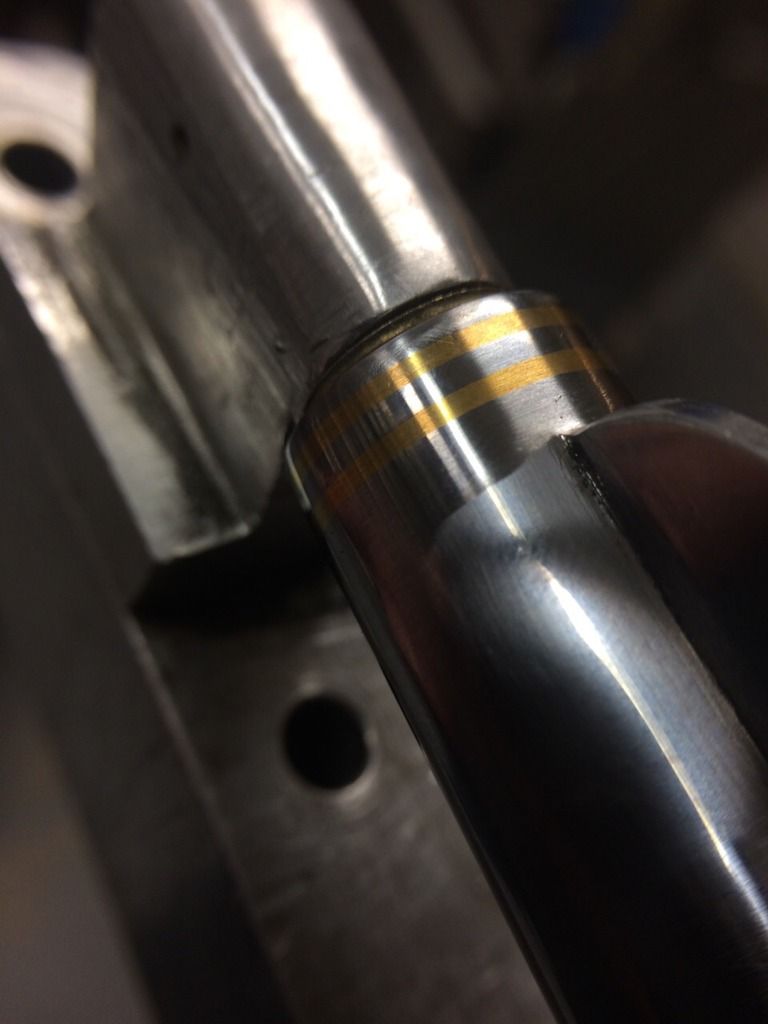
now it ready for the wire:
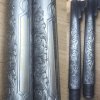
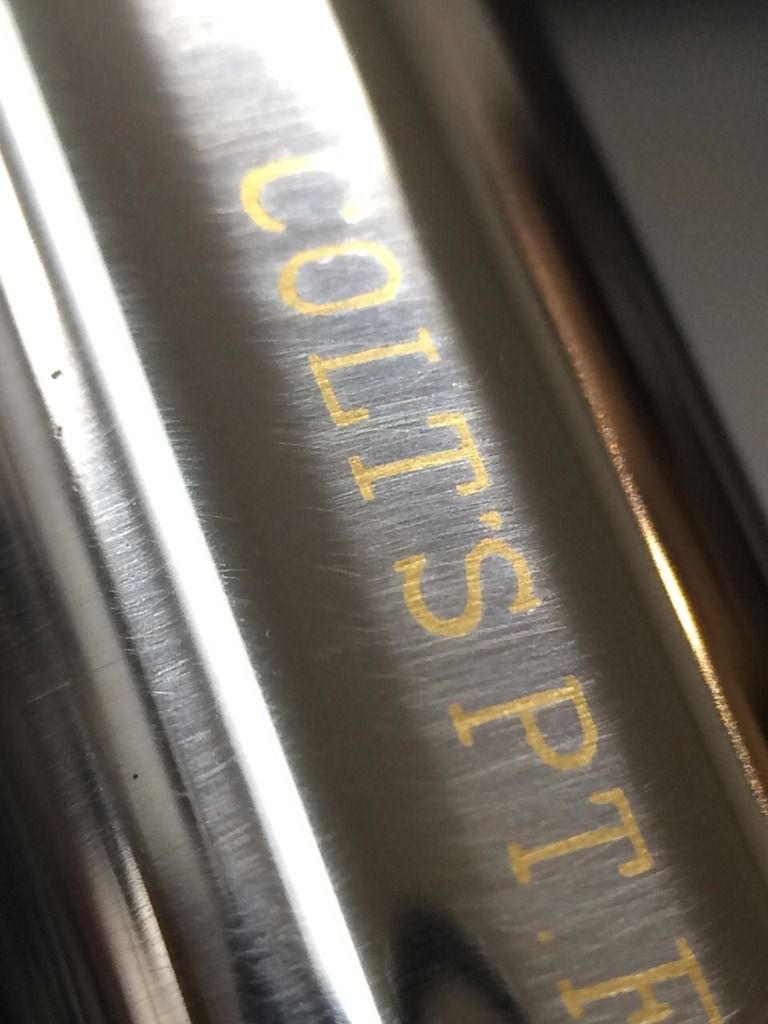
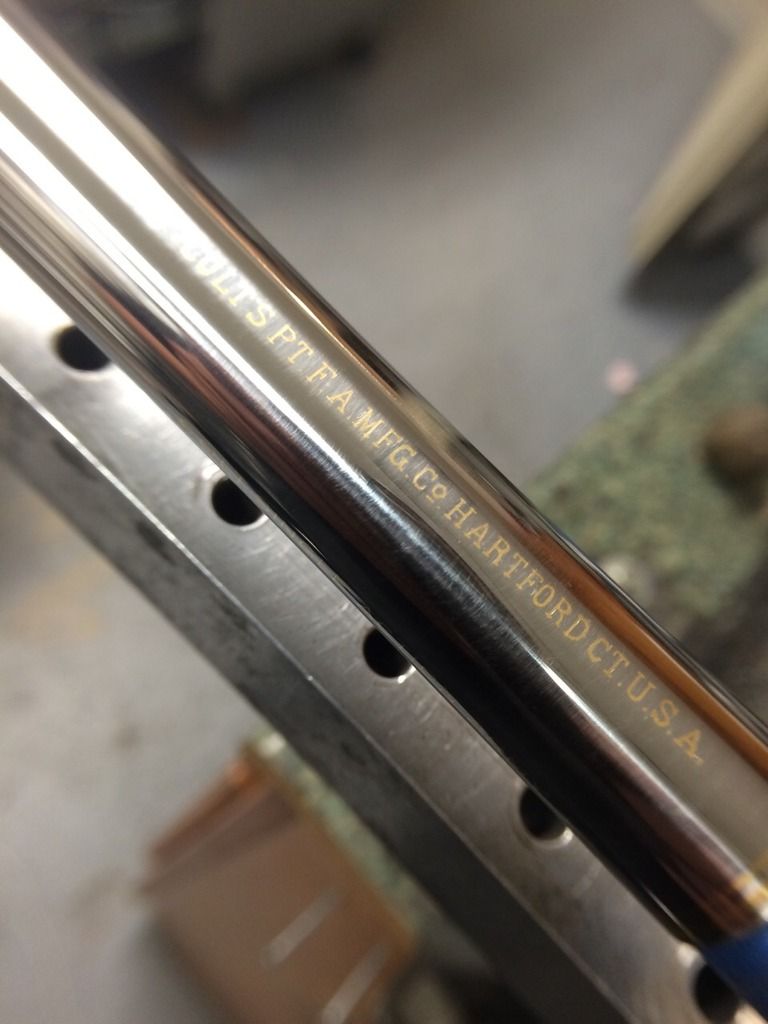
Finished lettering before final polish:

Cutting with the flat:

Curvy parts are trickiest, because outside edge gets ragged because of heel drag:

So, we punch it down with a flat:

Then I smooth it up with a scribe:

now it ready for the wire:

Finished lettering before final polish:


Last edited: