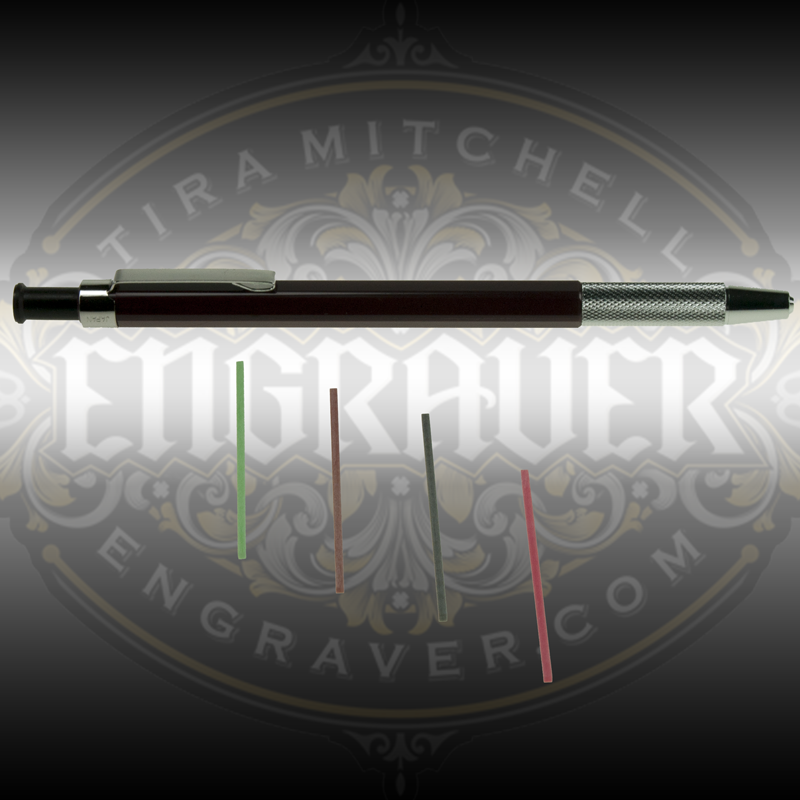
Mini super stones

Dani Girl

~ Elite 1000 Member ~
Joined
May 6, 2012
Messages
1,110
Location
NSW, Australia.
Hi everyone. I'm curious about this product. Does anyone use them for anything other than sculpting?
 

Andrew Biggs

Moderator
Joined
Nov 10, 2006
Messages
5,034
Location
Christchurch, New Zealand
Yes, they are a handy thing to have for minor repairs and if you need to stone something small. I have one.

But is it necessary?.......not really. It's just handy from time to time.

Cheers
Andrew
 

Andrew Biggs

Moderator
Joined
Nov 10, 2006
Messages
5,034
Location
Christchurch, New Zealand
Yes, learning to fix the slips is something you have to master very early in the deal. Lying a lot is the second thing :)

Good call, Jerry......I must try that.

Cheers
Andrew
 

Sam

Chief Administrator & Benevolent Dictator
Staff member
Joined
Nov 6, 2006
Messages
10,491
Location
Covington, Louisiana
I asked McKenzie about slipping and his response was "You don't crash airplanes and you don't slip with gravers."

For a long time I actually believed him.
 

Big-Un

~ Elite 1000 Member ~
Joined
Nov 10, 2006
Messages
1,370
Location
Eden, NC
I ground one of mine into a pencil point to get into really small places.

Bill
 

LVVP

~ Elite 1000 Member ~
Joined
Dec 13, 2006
Messages
1,382
Location
Toronto
Very useful stones, especially, when you are using ultrasonic machine for polishing
 

Dani Girl

~ Elite 1000 Member ~
Joined
May 6, 2012
Messages
1,110
Location
NSW, Australia.
Is there any thread or any one could help me with really getting my head around fixing my slips. I really have no idea.,... I try to burnish them, results not great. Thank you verrrrrrrrrrrrry much in advance for anyone who can help me
 

Brian Marshall

~ Elite 1000 Member ~
Joined
Nov 9, 2006
Messages
3,112
Location
Stockton, California & Taxco, Guerrero, Mexico
A slip is what occurs when you are all but finished with a job that you have hours of blood (literally for some), sweat, and tears invested.

Usually about when you get to around the last half dozen cuts...


Then that lil' "slip" can take an hour or more to "fix".

It's a time when you really really wish you had learned more languages to cuss in.


Brian


I don't mind admitting - I once "slipped" (better described as plowing) badly enough on a presentation tray with about 50 signatures on it - that it took me over half a day to "fix" it...

Of course that was 35 years ago, and I've never slipped since.
 

Andrew Biggs

Moderator
Joined
Nov 10, 2006
Messages
5,034
Location
Christchurch, New Zealand
It all depends on how deep it is. Sometimes a burnish and stone/sandpaper will fix it.

With a deeper one you may have to cut burrs along the length of the slip and gently hammer/burnish them down then sandpaper/stone.

Don't get too carried away and press hard lowering the metal in that area as you then start compounding the problem.

I use a burnisher that is like a darning needle, not one of those big wide flat ones. But they work as well.

On a practice plate, cut a few lines trying to replicate a slip and try the above methods. You'll get the hang of it soon enough.

Cheers
Andrew
 

mitch

~ Elite 1000 Member ~
Joined
Jul 23, 2007
Messages
2,636
Dani-

Burnishers are indispensable tools for fixing minor scratches, but they are absolutely AWESOME for making little problems into HUGE %$#&-UPS when you slip while bearing down hard on the tool. Learning to control a burnisher under pressure is a necessary skill...
 

Brian Marshall

~ Elite 1000 Member ~
Joined
Nov 9, 2006
Messages
3,112
Location
Stockton, California & Taxco, Guerrero, Mexico
It is not just the burnishing, sanding or stoning process that needs to be learned to "fix" those extremely rare slips...

You need to learn as much as you can about metals in general and metal finishing.

What works on silver gold and platinum is not gonna work as well on other metals - or at all on a couple.


The plasticity of the metal that you made the boo-boo on is most important.

Some metals can be pushed around and "healed" and others are damn near as hard as the burnisher.


Judging what methods to use comes from experience. Experience comes from mistakes/slips...

So the bad news is that those who are gonna have the best learning opportunities are gonna be those who make the MOST "slips" on the widest varieties of metals... and seeing as how they happen so rarely for most engravers I know - there isn't much opportunity.

Or is there?


Brian
 

dhall

:::Pledge Member:::
::::Pledge Member::::
Joined
Jan 1, 2008
Messages
144
Location
San Diego, California
Hi Dani,

As you can tell, burnishers can come in many forms, can be a mixed blessing, and can be used in various ways. Here is one method that can work well. As mentioned earlier, try this on some scrap stock first. This doesn't usually happen, but it helps if you have some blank space around the errant cut. In the midst of heavy coverage, you might need a different technique, i.e. carve out and inlay replacement stock, and re-cut.

The concept is that you are capitalizing on the ability of the metal to "flow" or move under the pressure of the burnisher. Ideally, you want to move a small amount of metal from both sides of the cut towards and in to the cut's groove. The displaced metal "fills" the void (at the expense of slightly lowering the surface of the surrounding metal. The trick is to do this in as subtle a manner as possible, so that when viewed or rotated in the light, as little of a surface ripple is evident as possible. The fine abrasive stones can help with the blending/smoothing of the surface, at the end of the process (perhaps similar to blending/feathering the surface in automobile sheet metal body work).

The cross-section shape of a burnisher has an impact on how the work proceeds. A smaller radius is more aggressive and moves a smaller amount of metal more quickly, but is more challenging to use without leaving gouges or ripples in the burnished surface. A larger radius cross-section touches a greater surface area, under pressure, and ultimately has greater resistance to moving metal, but can leave fewer deep/unsightly marks in the burnished surface.

The procedure is as follows. All of the initial burnishing strokes are made parallel to the direction of the cut. Begin at a small distance away from the cut. Do not start burnishing directly on the cut. As your burnishing strokes are being made parallel to the cut, gradually move the burnishing strokes closer to the cut. If possible (and with some experience and practice) attempt to not burnish over the same exact place in this first course of burnishing. Every place where you have burnished, you have slightly work-hardened the underlying metal, and it is more resistant to being "pushed" or moved towards the cut. Hence, the need to gradually move the burnisher in essentially parallel strokes, ever closer to the cut. If possible, burnish metal on both sides of the cut, moving the metal evenly towards the cut. Remarkably, you will see the depth of the cut diminish, to the point where it is essentially filled in. If the cut is of uneven depth, burnish more lightly in the area near the shallow part of the cut, and with greater pressure in the area around the deeper part of the cut.

After this first course of burnishing, you'll know if you need to do more, if the cut is not filled in. Repeat as needed, recognizing that each successive pass of burnishing will be less effective, due to work-hardening. After getting the cut filled with the metal you've "pushed", you might try some finishing burnishing strokes at slight angles to the cut, with an eye towards blending or feathering the burnish marks to minimize their presence. After you smoothed the surface as much as possible with your burnisher(s), then it's on to the stoning. Some folks might choose to use multiple burnishers, e.g. a smaller radius to move more metal initially, graduating to a larger radius tool later, during the smoothing phase. Also, using some form of lubricant can be helpful to minimize friction and galling of the metal. Jeweler's bur lubricant can work well for this.

Done with care, the repair can be virtually invisible.

Best regards,
Doug
 

Latest posts

Sponsors

Top